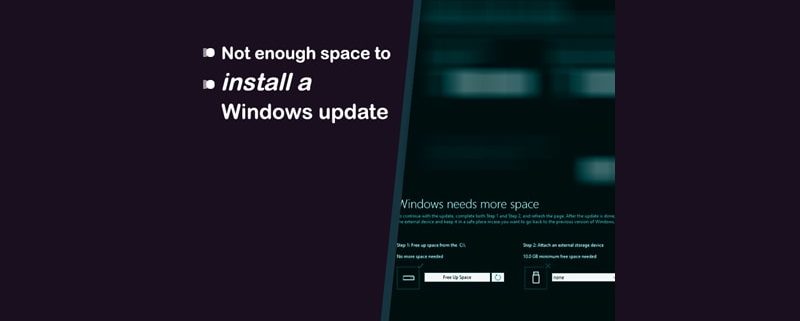
اگر شما به دنبال راه سریعی برای آزاد کردن گیگابایت ها فضا هستید، ما به شما CleanMyPC را پیشنهاد میکنیم. که به شما کمک میکند برنامه ها و فایل های آن ها، دیتابیس رجیستری ویندوز و همینطور فایل های موقتی که فضای شما رو گرفته اند را پاک کنید.
CleanMyPC میتواند بعد از اسکن کردن کامپیوتر شما، فایل ها را به طور اتوماتیک حذف کند یا شما میتوانید انتخاب کنید تا نتیجه ی اسکن رو مشاهده کنید و خودتان تصمیم بگیرید که چه چیزهایی را حذف کنید. که از لینک زیر قابل دانلود میباشد.
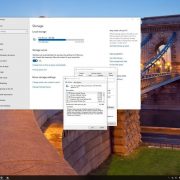
راه دیگه ای برای حل کردن این مشکل استفاده از Auto Free Up Space بر روی hard drive یا SSD شماست. و یکی از راه های انجام این کار استفاده از Diskcleanup است.
بر روی منوی Start کلیک کنید.
گزینه ی All Program را انتخاب کنید.
Accessories و سپس System Tools را انتخاب کنید.
روی Disk Cleanup کلیک کنید.
از بین فایل ها انتخاب کنید که کدام یک از آن ها را با چه پسوند هایی میخواهید پاک کنید.
اگر از انتخاب پسوند ها مطمئن نیستید، هر کدام را به نوبت انتخاب کنید و بخش توضیحات را بخوانید.
هنگامی که پسوند های مورد نظر را انتخاب کردید روی Ok کلیک کنید.
شما همینطور میتوانید فضای خود را به طور دستی با دسترسی و پاک کردن فایل های بزرگ و قدیمی و برنامه هایی که لغو نصب شده ان فضا را باز کنید، هرچند، این مورد زمان بیشتری را از شما خواهد گرفت.
Have a lot less free storage than before
You might not know, but after installing Windows 10 the old version of the OS is hanging around in the background taking up useful space. Surprised? When you upgraded, your old version of Windows doesn’t disappear. It’s still in the back of the system and goes by the name “windows.old” and takes up valuable disk space.
If you like the new OS and want to delete the old one for good, then click on the Windows Start button and type “cleanup” to automatically search the system. A “Disk Cleanup” app should appear before you in the search criteria field. Click on it to open the application.
A drive selection box should appear. Simply select the drive your OS is installed on. The default drive should appear first which is usually the C:/ drive. If you’re confident that this is the main drive where your OS is installed, hit OK. Windows should scan your system for a while and then a box will pop up.
Now, two things could happen at this point. You could be presented with a list of files to delete right away, one of which is “Previous Windows Installation(s)”, or if that option is not visible, you will need to select the “Clean up system files” option on the bottom left.
Windows will do some more calculations and give you another a very similar looking box, this time with the option to delete previous windows installation(s). You might have to scroll down to find it, but it should be taking up a sizeable bit of drive space, in our case, almost 5GB. Tick this option and click OK. In the separate message box that appears asking if you’re certain you want to send this, click Delete Files, and you’re done.

